
How to Replace a Kirby Vacuum Fill Tube
Has your Kirby vacuum’s fill tube seen some better days? Is if kinked or full of holes? If so, we can show you how easy it is to replace!
Important Safety Tips
- Always make sure your machine is unplugged and the power button is turned off, before servicing your vacuum.
- Always make sure your hands are dry and free from moisture before servicing your machine.
- Be sure to wear gloves when servicing your machine to prevent any cuts or scrapes.
- If you are uncomfortable working on your vacuum, please don’t hesitate to contact us at service@greatvacs.com and we can help you through the process or you can send it into us to fix it for you.
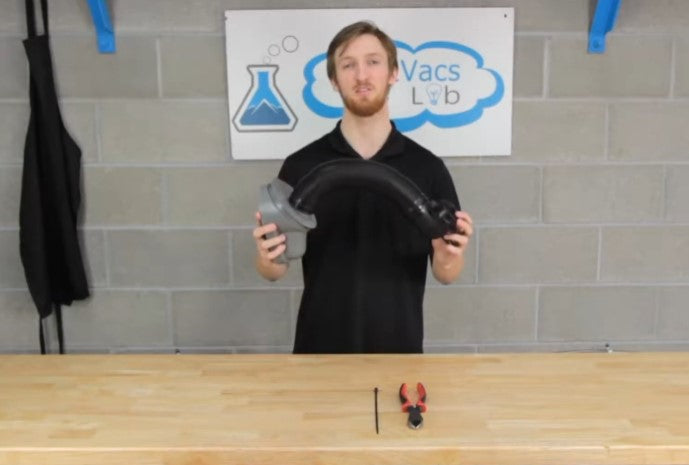
Tools:
- Kirby Vacuum Inner Fill Tube
- Wire cutters
- Flat head screwdriver
- 11” zip ties (or larger) (NOTE: 8” zip ties will not work!)
- Gloves are recommended, because this can be a messy job.
Instructions:

Take the wire cutters and remove the zip ties from each end of the fill tube.

With the flat head screwdriver get between the fill tube and the top neck connector and pry them apart. Repeat at the other end.

Discard your damaged fill tube and get your new one. When replacing the tube you need to be sure to get it over the lip.

Secure the fill tube with a zip tie placed at the bottom of the end. The zip tie needs to be on the flat part of the tube, not the rounded area.

Repeat the procedure for the top of the fill tube.

Trim the excess off the zip ties with the wire cutters.

Double check your work and you’re done!
As you can see, with a few simple tools and a couple zip ties, you can easily replace your own fill tube! If you need to buy a replacement you can click here.
Here at Great Vacs we’ve serviced and rebuilt nearly 100,000 Kirby vacuum cleaners, so if you have any questions or comments feel free to leave us a comment! You can also head on over to our Youtube channel to see more educational videos.


