
How to Install the Squeegee on Your Squeegee Floor Tool
We get questions every day asking how to install the squeegee part of the squeegee floor tool, so here's a quick video that shows you how to do this!
Important Safety Tips
- Always make sure your machine is unplugged and the power button is turned off, before servicing your vacuum.
- Always make sure your hands are dry and free from moisture before servicing your machine.
- Be sure to wear gloves when servicing your machine to prevent any cuts or scrapes.
- If you are uncomfortable working on your vacuum, please don’t hesitate to contact us at service@greatvacs.com and we can help you through the process or you can send it into us to fix it for you.
Tools
- Flat head screwdriver
Instructions

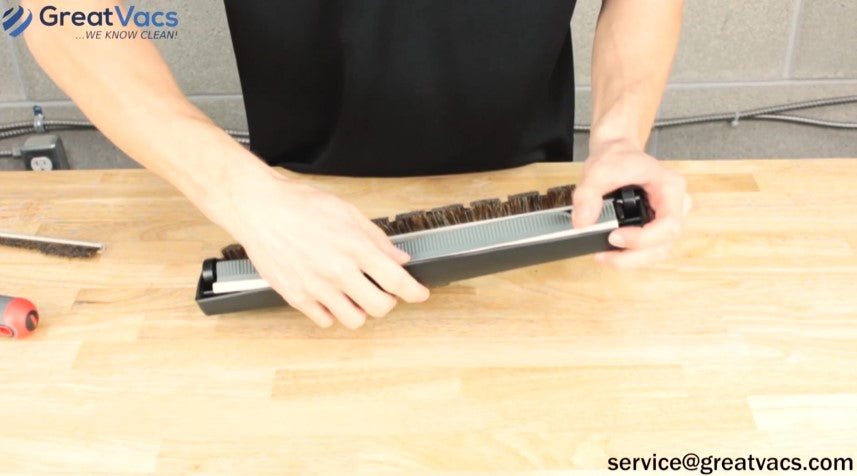
If you look at the bottom of your squeegee tool you will see a longer bristle strip. There are going to be four tabs holding it in place.

Just take your flat head screwdriver and get in between the white bristle piece and the actual squeegee tool. Carefully pop the bristle strip out.

Once you get the bristle strip out, just take the squeegee strip and pop it into place. And just like that, you've assembled your squeegee tool!

Here at Great Vacs we’ve serviced and rebuilt nearly 100,000 Kirby vacuum cleaners, so if you have any questions or comments feel free to leave us a comment! You can also head on over to our Youtube channel to see more educational videos.


