KIRBY VACUUM USE AND ASSEMBLY
+VACUUM CLEANER GUIDES
- Kirby Vacuum Cleaner Guide
- Kirby or Dyson - Which is Better?
- Best Kirby Vacuum For You
- Rainbow Vacuum Guide
- Oreck Vacuum Guide
- Kirby Vacuum Bag Guide (Which Bag To Use?)
- Bags vs. Bagless Vacuum - Which is best?
- The Best Vacuum Cleaner
- HEPA Vacuum Cleaner Filtration
- Picking the Perfect Commercial Vacuum or Cleaner
+VACUUM MODEL DIFFERENCES
+VACUUM USE & MANUALS
+REPAIR & TROUBLE SHOOTING
+VACUUM HISTORY
Kirby Assembly and Use Instructions
If you were to buy a vacuum from Great Vacs in person we would show you how to assemble and use it. However we have put this web page together so that people who don't buy the vacuum in person get the same treatment. We have made this link to demonstrate how to assemble and use the vacuum after it has been shipped to you from us.
All information that we have provided is third party information. The information contained is just what we have learned over the years from repairing and rebuilding kirby vacuums. All information and statements are merely our opinions. All official and technical information on kirby vacuums is not contained within this information. For that information you need to contact the kirby company or your local distributors. We are not a Kirby distributor nor are we associated in any way with the Kirby Vacuum company. We don't claim to include all information in this document but if there is something that you would like us to add, please let us know. This does not replace the Kirby owners manual or video and if you are not familiar with the Kirby we suggest you get one. This document is only to be used for customers who have bought a vacuum from Great Vacs and to show them how to use it.
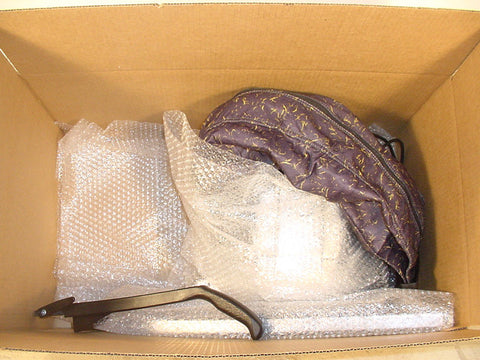
The picture below shows the Kirby vacuum how you will receive it all packed up and ready to assemble
CLICK ON ANY OF THE THUMBNAILS TO SEE FULL SIZED PICTURE!
|
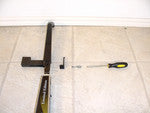
Once the vacuum is taken out of the box you will need to assemble the handle. Begin by inserting the top handle into the bottom main handle and screwing in the top cord release that secures the two. Then simply snap the handle in place at the base of the vacuum |
|
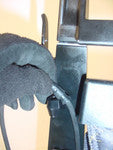
Next you will want to attach the cord at the back of the handle and wrap the cord in place. |
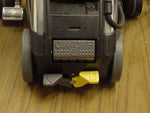 |
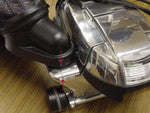
At the back of the vacuum is the transmission where you will notice a switch. It should be labeled "N" and "D". Which stands for "Neutral" and "Drive". When the switch is positioned to the left it is in Neutral and when it is to the right it's in Drive. To wheel the vacuum around when it is not running you use Neutral and when you are vacuuming and want the transmission engaged you will want Drive. When the vacuum is turned off and in Drive the rear wheels will be locked. |
|
At this point you should be able to vacuum. However, several people email us and say their vacuum will not turn on and that something is wrong. Nothing is wrong, the Kirby vacuum has 2 safety switches which, when they are not engaged, will not allow the vacuum to be turned on. One is the bag which must be snapped securely against the side of the vacuums and the second is the powerhead or hose which must be securely attached. These are there for your protection and if they are not engaged the vacuum will not turn on. You will need to adjust the carpet head to your height of carpet you are vacuuming as well. That's it for your assembly instructions from Great Vacs. At this point you should be able to vacuum to your heart's content. Listed below are other helpful links on how to use your vacuum. For instructions on how to shampoo carpet CLICK HERE For instructions on how to use the tools CLICK HERE For instructions on how to remove and put on the powerhead CLICK HERE |
SERVICE@GREATVACS.COM
Links
Information
Help
Links
Information
Help
GreatVacs Copyright 2018

- Choosing a selection results in a full page refresh.
- Opens in a new window.
-
Translation missing: en.search.autocomplete.starting_atTranslation missing: en.search.autocomplete.see_all ({ suggestion.results_count })


