How to Shampoo with a Kirby Vacuum
Did you know that Kirby vacuums can also be used to shampoo carpets? Today we’re going to show you how to use your Kirby shampooing system with your Kirby vacuum cleaner!
Important Safety Tips
- Always make sure your machine is unplugged and the power button is turned off, before servicing your vacuum.
- Always make sure your hands are dry and free from moisture before servicing your machine.
- Be sure to wear gloves when servicing your machine to prevent any cuts or scrapes.
- If you are uncomfortable working on your vacuum, please don’t hesitate to contact us at service@greatvacs.com and we can help you through the process or you can send it into us to fix it for you.
Supplies
Filling the Tank

To start, we’re going to fill up the tank before attaching it to the vacuum. This is an easier method since you need to shake it to mix the cleaning solution and water.

First thing you want to do is take off the cap and grab your water. You’ve probably noticed that there are three lines on the tank. The first line is for small spaces and that will take one cap full of solution. The second line is for medium spaces and takes two caps of solution. And you’ve guessed it – the third line is for large spaces and takes three caps of solution!
Whether you need shampoo or spot remover, we’ve got it all. If you need to purchase some click here.

For this example we’re going to go up to the first line and use one capful of shampoo solution. Dump the solution into the tank and replace the cap. Give the container a good shake, but be sure to cover the filter, otherwise water will go all over the place.

Here are two Kirby shampooer tanks. They look similar, but they have a minor difference. From G3 to Centurion models, you’ll notice that the knob has an off or on position. When you’re getting everything set up, keep it in the off position. When you’re finally ready to shampoo turn it to on and you’re good to go.

For the Avalir on up models, you’re going to notice there are two different options. Same method applies when you’re getting everything ready – keep it in the off position. You’ll notice that there are two “on” options: hardwood and carpet. Just turn the knob to whatever floor surface you’re cleaning and you’re good to go.
Attaching the Shampooer

Since we’ve got the tank taken care of, lets get your Kirby shampooer hooked up to your Kirby vacuum! This method will work for the G3 models up. We’re using the Avalir model for this example.

First, raise the height adjuster all the way up. This makes putting the main shampooer body on easier.

Second, lift up the lid and also turn the belt lifter to the belt off position.

Unlatch it and the head will fall forward. Remove the head and then take the bag off, since the tank will be attaching there. Twist the bag counter clockwise and unhook it from the handle above to remove.

Now it’s time to get the main body hooked up. Just like the head, you want to put the shaft in the opening. Once on secure the latch. The belt lifter will be in the belt off position, so you will need to turn that to on. And just like that, the main part of your shampooer is hooked up!

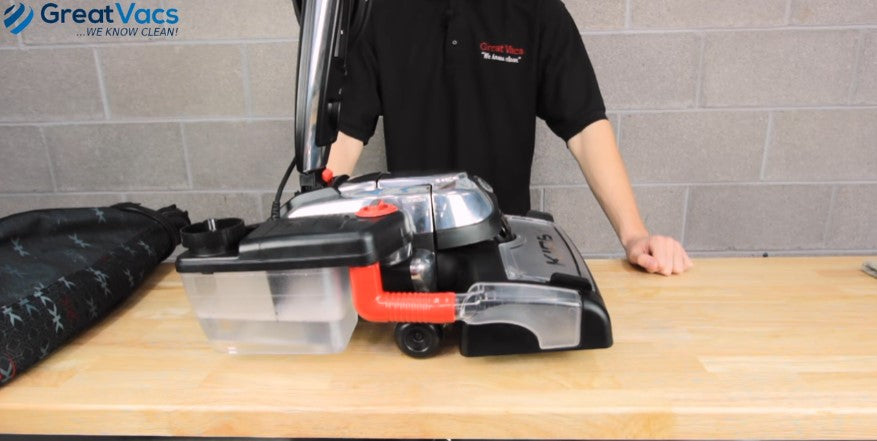
Now it’s time to get the tank set up. Take your tank and get it lined up on the bag connection and turn clockwise until it snaps in.

The final step is to take the hose and attach it to the shampooer body first, and then slide the other end onto the tank. Now your Kirby vacuum is ready to shampoo!

Disassembling the Shampooer
Now that you’re done shampooing your carpets, lets’ get the Kirby shampooer disassembled. Disassembly is even easier than assembly - you just need to reverse the steps.
First, disconnect the hose. Then, turn the tank counter-clockwise and disconnect from the vacuum. Finally, lift the lid, turn the belt lifter to the belt off position, undo the latch and the head will fall off.
To reassemble your vacuum, take the bag and twist it clockwise to reconnect to the vacuum cleaner. Reattach the top to the handle. Left the lid, slide the head back on, turn the latch to secure, and then turn the belt lifter to the belt on position. Now you’re vacuum is back to normal!
If you need to buy any Kirby shampoo you can click here.
Need the Kirby Shampooer? Click here!
If you are curious which model of Kirby vacuum cleaner we think is the best you can read this post.
Here at Great Vacs we’ve serviced and rebuilt nearly 100,000 Kirby vacuum cleaners, so if you have any questions or comments feel free to leave us a comment! You can also head on over to our Youtube channel to see more educational videos.